

Plus-Size Pattern Grading: Increments That Fit
Table of Contents
- Why Plus-Size Pattern Grading Increments Matter
- Recommended Grading Increments for Plus-Size Patterns
- How to Grade a Sewing Pattern Up for Larger Sizes
- Grading Between Sewing Pattern Sizes: Blending vs. Full Grading
- Plus-Size Pattern Drafting: Balancing Proportions and Fit
- Validating Fit: Testing Your Graded Patterns
- Conclusion
- Frequently Asked Questions
Last Updated: October 10, 2026
Why Plus-Size Pattern Grading Increments Matter
Getting grading increments right is where custom fit actually happens. When you're making clothes for plus-size bodies, standard grading often fails because it doesn't account for how bodies actually change as sizes go up.
Most patterns use the same increment across all sizes, but real bodies don't work that way. A size 18 woman doesn't just have a proportionally bigger chest, her proportions shift, her waist sits differently, and her arm holes need different depth.
This is where plus-size pattern grading becomes critical. The right increments mean the difference between a garment that fits and one that pulls, gapes, or bunches.
Recommended Grading Increments for Plus-Size Patterns
Bust, Waist, and Hip Grading by Size Range
Bust grading increments:
- Sizes 12-16: 1 inch per size
- Sizes 16-20: 1.25 inches per size
- Sizes 20+: 1.5 inches per size
Waist grading increments:
- Sizes 12-16: 0.75 inches per size
- Sizes 16-20: 1 inch per size
- Sizes 20+: 1.25 inches per size
Hip grading increments:
- Sizes 12-16: 1.25 inches per size
- Sizes 16-20: 1.5 inches per size
- Sizes 20+: 1.75 inches per size
| Measurement | 12-16 Range | 16-20 Range | 20+ Range |
|---|---|---|---|
| Bust | 1.0" per size | 1.25" per size | 1.5" per size |
| Waist | 0.75" per size | 1.0" per size | 1.25" per size |
| Hip | 1.25" per size | 1.5" per size | 1.75" per size |
How Increments Vary by Garment Area and Body Shape
Different body shapes need different grading strategies. For fitted garments, add more width at hip and bust while keeping the waist tighter. For loose garments, add evenly across all areas.
Sleeve grading also matters. Add about 0.5 inches to armhole depth per size and 0.75 inches to upper arm width. Length grading is often overlooked: add 0.25 to 0.5 inches to sleeve length per size and 0.5 to 0.75 inches to bodice length.
How to Grade a Sewing Pattern Up for Larger Sizes
Step-by-Step Grading Process with Worked Examples
Step 1: Measure your base pattern and establish your grading increments
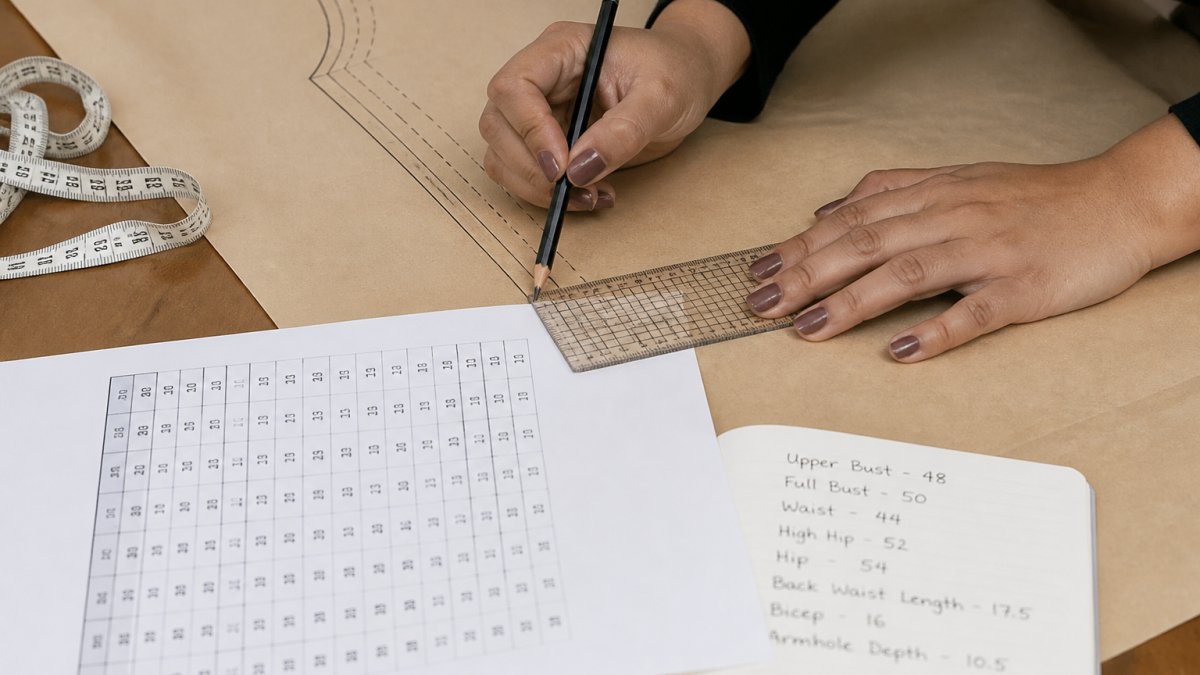
Take finished garment measurements from your smallest size (e.g., size 14: 38" bust, 30" waist, 42" hip, 8" armhole depth, 24" sleeve length, 18" bodice length).
Step 2: Calculate the finished measurements for your new size
For size 16 (one size up from 14):
- Bust: 38" + 1.0" = 39"
- Waist: 30" + 0.75" = 30.75"
- Hip: 42" + 1.25" = 43.25"
- Armhole depth: 8" + 0.25" = 8.25"
- Sleeve length: 24" + 0.25" = 24.25"
- Bodice length: 18" + 0.5" = 18.5"
Step 3: Identify your grading points on the pattern
Step 4: Distribute the bust increment across grading points
For a fitted bodice, distribute 1.0" bust increment as: side seams 40% (0.2" each), center front 30% (0.3"), center back 30% (0.3"). Move each seam outward by its increment. Total: 0.2" + 0.2" + 0.3" + 0.3" = 1.0" ✓
Step 5: Distribute the waist increment
For 0.75" waist increment, use the same distribution: side seams 0.15" each, center front 0.225", center back 0.225". Mark these points at the waist level.
Step 6: Distribute the hip increment
For 1.25" hip increment on pants, distribute equally: inseam 0.3125", outseam 0.3125", center front crotch 0.3125", center back crotch 0.3125". For a dress bodice, use the bust distribution: side seams 0.25" each, center front 0.375", center back 0.375".
Step 7: Adjust armhole depth and sleeve cap
Add 0.25" to armhole depth. Measure down from the shoulder seam at the armhole and mark a new point 0.25" lower. This prevents the sleeve cap from sitting too high.
Increase upper arm circumference by 0.5" (half your bust increment, as discussed in the body shape section). Distribute this 0.25" on each side of the sleeve cap.
Step 8: Redraw the pattern lines smoothly
Use a flexible ruler or French curve to connect your new grading points. The line should flow naturally, no sharp angles or bumps. If your new line has a sharp angle, adjust intermediate points so the curve is gradual.
Step 9: Check proportions and seam allowances
Compare your graded pattern to your original. Does the armhole look proportional? Is the neckline comfortable? Are waist darts in a logical place? Are seam allowances still your standard width? Trim back if needed.
Step 10: Label your pattern pieces clearly
Write the new size (16), the new finished measurements (39" bust, 30.75" waist, 43.25" hip), and the grading increments used on each pattern piece. This prevents confusion when you grade the next size up.
Using a Spreadsheet to Track Grading Across Multiple Sizes
When grading a full size range, a spreadsheet keeps increments consistent. Set up columns for size, bust, waist, hip, armhole depth, sleeve length, bodice length, and each grading point. Enter your base size measurements and use formulas to calculate each size up (e.g., Size 16 bust = Size 14 bust + 1.0"). This catches math errors before you cut pattern pieces.
Digital Grading Tools
If you're grading multiple patterns or a large size range, dedicated grading software or Adobe Illustrator can automate the process. The trade-off is a learning curve and cost. For small batches or one-off patterns, a spreadsheet and manual grading work fine and give you more control over how increments are distributed.
Grading Between Sewing Pattern Sizes: Blending vs. Full Grading
When to Blend Sizes and When to Grade Fully
Blending is a shortcut. You take two existing sizes and create an in-between size by blending the pattern pieces. It's faster than full grading but less precise.
Blend when:
- You need a half-size quickly
- Your customer base is small
- You're testing whether a size range works
Grade fully when:
- You're making multiple sizes
- Fit is your selling point
- You want consistent proportions across your range
Full grading takes longer upfront but pays off. Every size fits the same way. Customers get consistency. That matters for plus-size pattern grading because fit trust is everything.
Plus-Size Pattern Drafting: Balancing Proportions and Fit
Accounting for Body Shape Variation
Plus-size bodies show more variation in shape than smaller sizes. Two size 20 women can have completely different proportions. One might be bottom-heavy. The other might carry weight in her midsection.
If you're drafting a new pattern for plus sizes, build in ease that accounts for this. A fitted dress needs more wearing ease in the hip and bust for plus sizes. A loose dress needs less, because the silhouette already has room.
Necklines matter too. A scoop neck that works on a size 6 might feel too revealing on a size 20. Consider how your neckline depth changes as you grade up.
Distributing Grading Across Seams and Pattern Pieces
Don't add all your grading to the side seams. That creates a flat, unflattering silhouette. Instead, distribute the increment across multiple seams.
A typical distribution for a fitted bodice:
- Side seams: 40% of the increment
- Center front: 30% of the increment
- Center back: 30% of the increment
For pants, distribute differently:
- Inseam: 25% of the increment
- Outseam: 25% of the increment
- Center front and back crotch: 50% of the increment
This keeps proportions balanced. The garment still looks designed, not just enlarged.
Validating Fit: Testing Your Graded Patterns
Creating a Test Garment and Fit Assessment
Before you commit to graded patterns, make a muslin test garment in your new size. Muslin is cheap. It shows fit problems you'll miss on paper.
Sew the test garment with your graded pattern pieces. Have someone who wears that size try it on. Check these points:
- Does the bust fit without pulling?
- Does the waist sit at the natural waist?
- Are the armholes comfortable?
- Is there enough ease in the hip?
- Do the sleeves hang straight?
- Is the length proportional?
Mark any fit issues directly on the muslin with a marker. Those marks tell you exactly where to adjust your pattern.
Common Mistakes to Avoid When Grading
Mistake 1: Grading the neckline too much A neckline should stay relatively consistent across sizes. Grade it by 0.25 inches maximum per size, and only at the shoulder seams.
Mistake 2: Forgetting to grade the armhole Many sewers grade the bust and forget the armhole. Then the sleeve cap is too small and the armhole sits too high. Grade armhole depth by 0.25 to 0.5 inches per size.
Mistake 3: Using the same increment for all body areas Your bust and hip need different increments than your waist. Treat each area independently.
Mistake 4: Not testing before grading the full range Test one size up and one size down from your base before you commit to a full grading chart. This catches proportional problems early.
Mistake 5: Ignoring length when grading width A size 20 isn't just a bigger size 12. She's often taller too. Add length proportionally as you grade up.
Conclusion
Plus-size pattern grading increments are the foundation of custom fit. The right increments mean your garments fit bodies the way they actually are, not the way standard sizing assumes they should be.
When you're building custom apparel for plus-size customers, whether it's edgy streetwear, fandom-inspired pieces, or anything in between, grading matters. At Hot Takes Designs, every piece is made to order using ultra-soft fabrics and vibrant prints that look incredible when they actually fit.
Start with the increments we've outlined. Test them with muslin. Adjust based on your specific customer base and body shapes. The time you invest in getting grading right pays off every time someone puts on a garment that fits like it was made for them.
American Sewing Guild pattern grading resources
Fashion Institute of Technology sewing pattern standards
Threads Magazine guide to pattern grading techniques
Frequently Asked Questions
What are the standard grading increments for plus-size patterns?
Standard grading increments for plus-size patterns typically range from 0.5 to 1 inch per size for bust and hip measurements, and 0.375 to 0.75 inch for waist. These increments are larger than straight-size grading (usually 0.25 to 0.5 inch per size) because plus-size bodies experience proportionally larger changes across multiple dimensions. The exact increment depends on your size range, target market, and how ease is distributed across the garment.
How much should you add between plus-size pattern sizes?
Add 1 to 1.5 inches total across all seams for bust and hip measurements when grading up one plus-size level. For waist, add 0.75 to 1.25 inches. Distribute these additions evenly across front and back seams, or adjust the distribution based on your target body shape. Always test the graded pattern on a muslin test garment before committing to production, as actual fit depends on your specific ease allowances and design.
Are plus-size pattern grading increments different from straight-size increments?
Yes, plus-size grading increments are typically larger than straight-size increments. Straight-size patterns often use 0.25 to 0.5 inch increments per size, while plus-size patterns use 0.5 to 1.5 inches depending on the measurement area and size range. This difference reflects how body proportions shift in larger sizes and ensures that garments maintain proper fit and wearing ease across the size range. One-size-fits-all increments lead to poor fit in plus sizes.
How do you keep a pattern balanced when grading into plus sizes?
Maintain balance by distributing grading increments proportionally across front, back, and side seams rather than adding all the width to one seam. Account for how different body areas scale differently: bust and hip typically grade more than waist. Use a size chart that reflects your target customer's actual measurements, and always create a muslin test garment to assess armhole depth, sleeve cap height, and overall proportions before finalizing your grading formula.